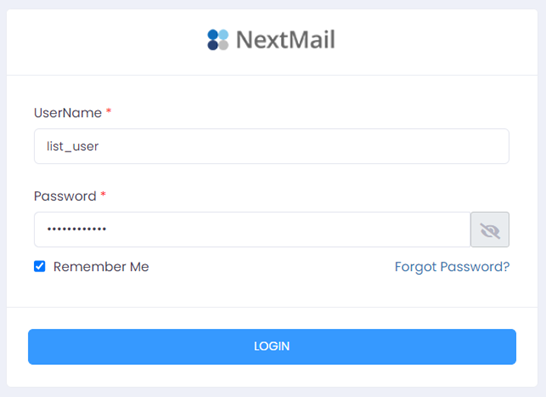
1) Logging into Your Account
Logging into your NextMail account is simple. Open the login link below and use the username and password sent in your welcome email from NextMail support. If this is a personal or dedicated computer, you can use Remember me for faster access.
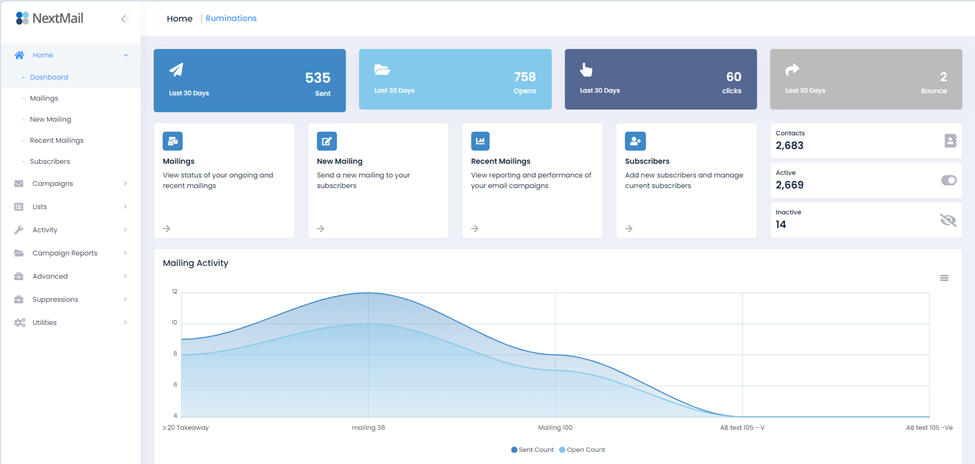
2) Home
The Home dashboard is the first screen you’ll see after logging in. It’s the hub of your account and gives you a quick view of performance and shortcuts.
- Navigation menu (left column)
- Last 30 days: sending, opens, clicks, bounces
- Current/Recent mailings (click for details)
- New Mailing shortcut
- Subscribers shortcut
- Reports shortcut
- Active vs inactive contacts
- Send vs open graph
- Recent mailing list
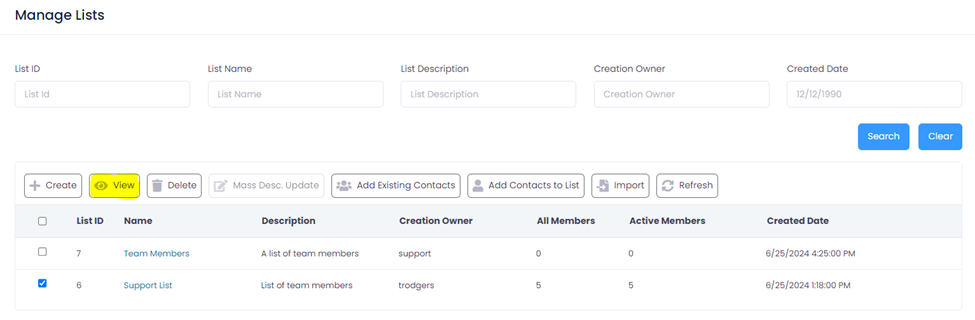
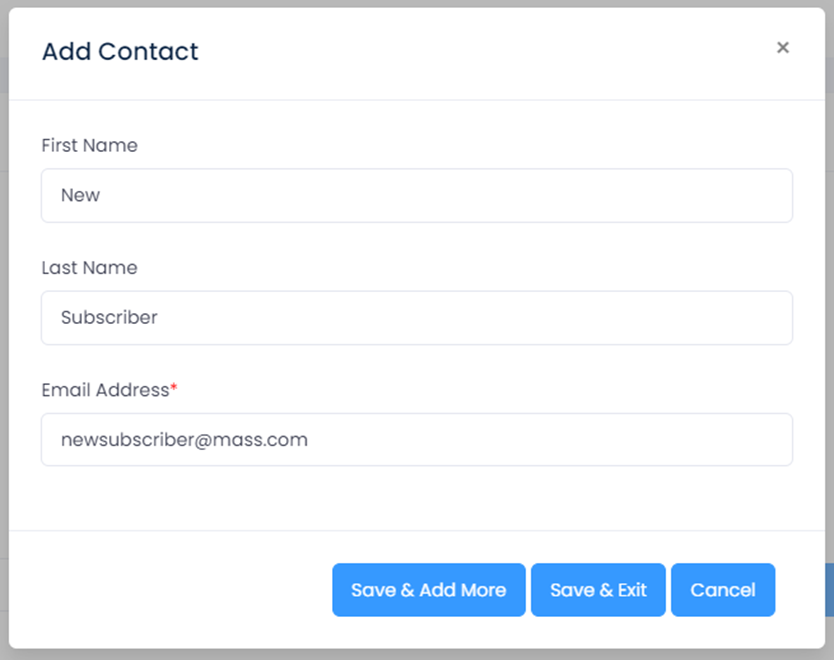
3) Adding Subscribers Manually to Your List
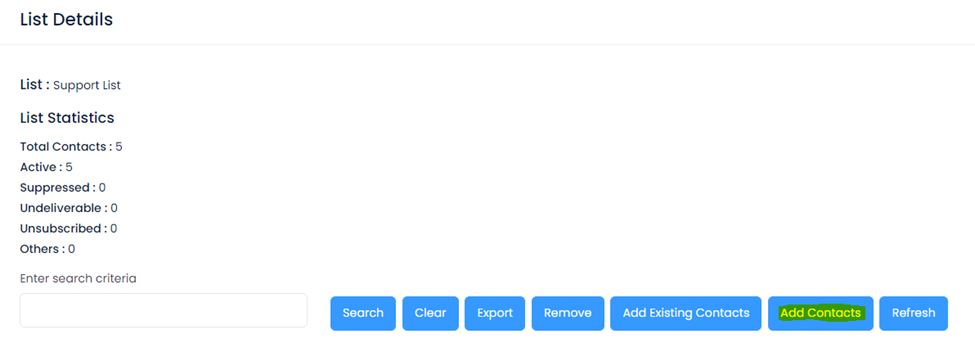
Manually adding subscribers is ideal for small numbers of new contacts. In the left navigation, go to Lists, choose your list, click View, then click Add Contacts.
In List Details, you can view, search, export, remove, and add subscribers. You’ll also see import history. Use Save & Add More to keep entering contacts, or Save & Exit when done.
4) Uploading Your List Using the Import Function
Imports are best for bulk uploads. Follow the wizard below—this mirrors the actual import flow and helps you avoid mistakes.
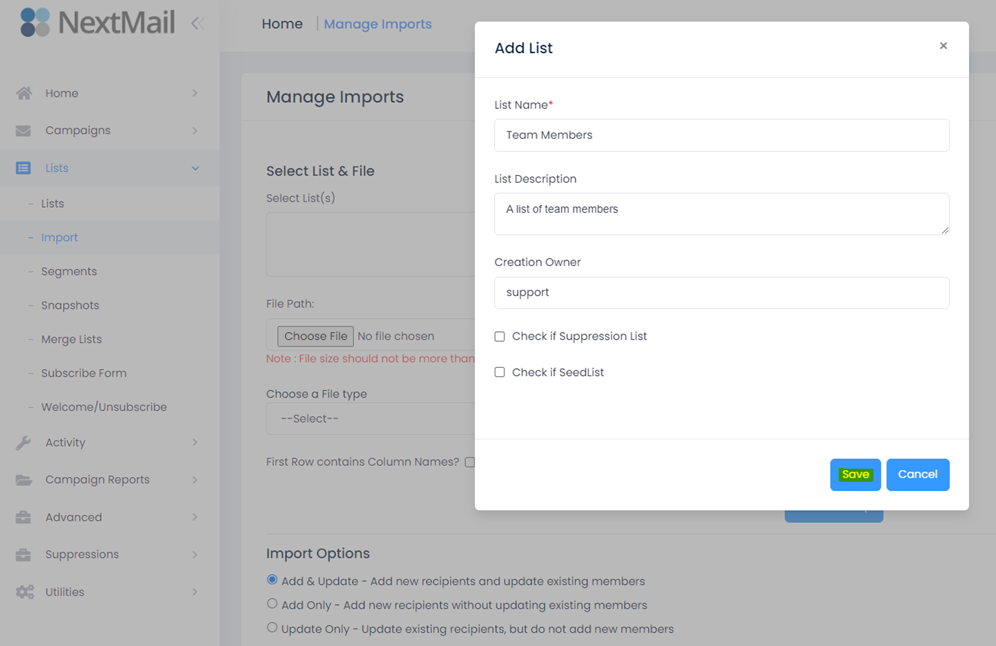
1) Choose or Create a List
Go to Lists → Import. Select an existing list, or click Create New List, name it, and save.
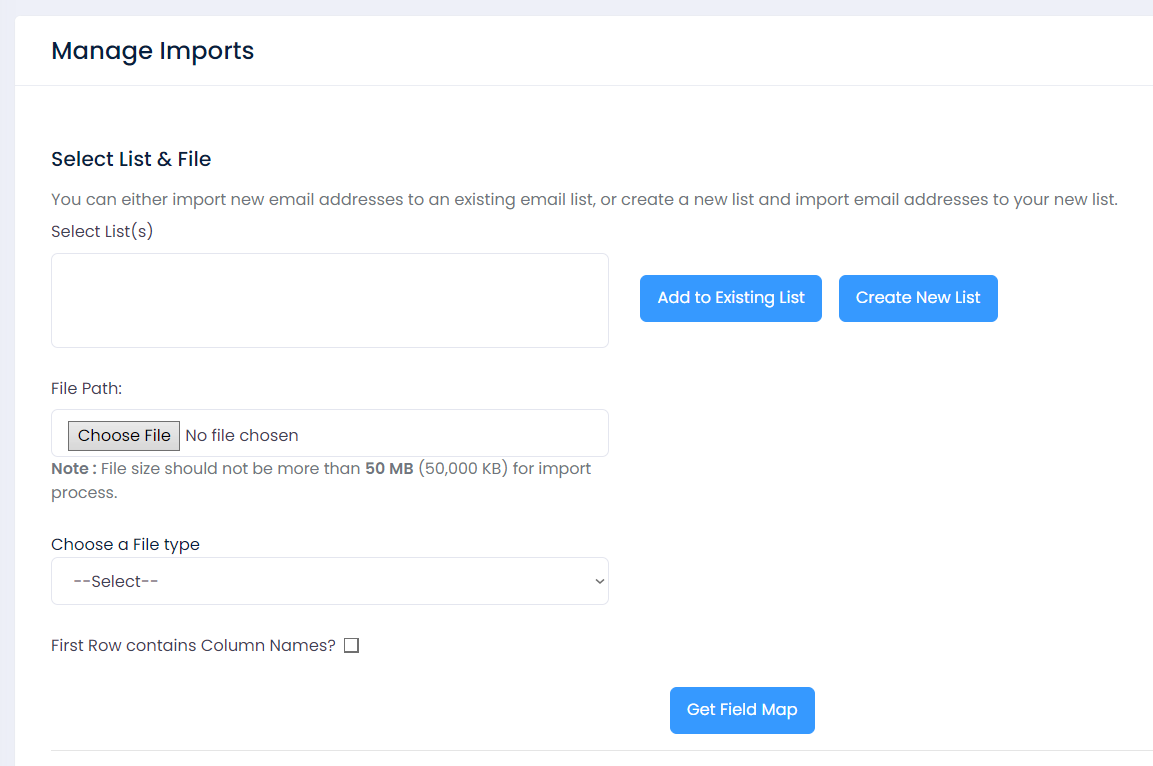
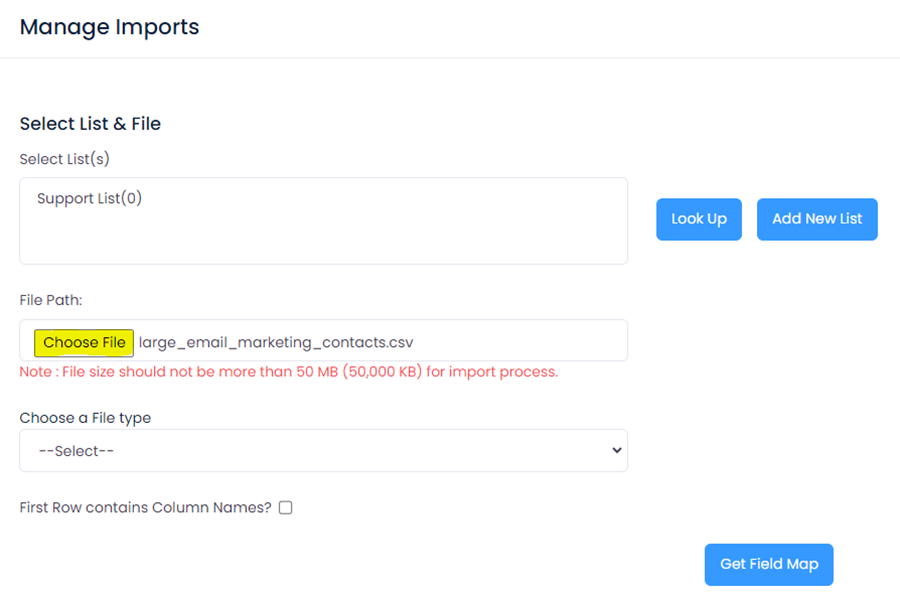
2) Upload Your File
Choose your file (CSV/TXT). Confirm the file type and indicate whether the first row contains column headers. Then click Get Field Map.
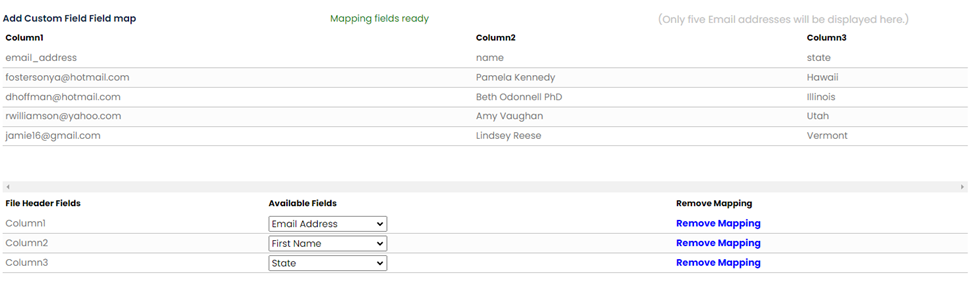
3) Map Fields (Critical)
Map your file columns to NextMail contact fields (Email, First Name, Last Name, etc.). This ensures clean data and reliable reporting.
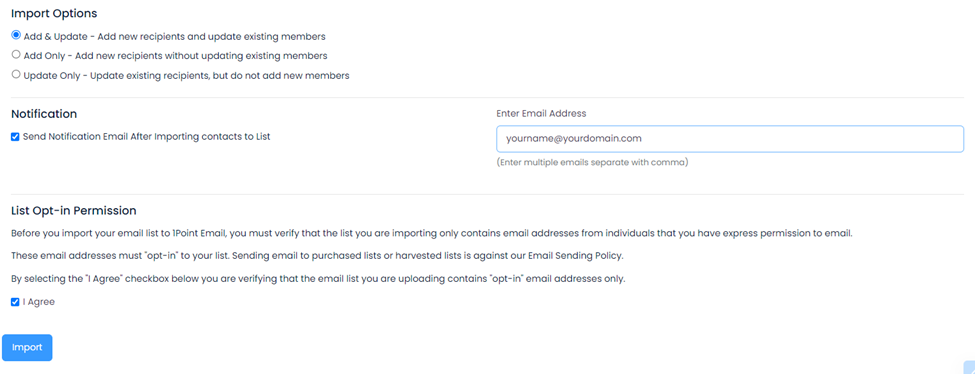
4) Choose Import Options
- Add & Update: add new recipients and update existing members
- Add Only: add new recipients without updating existing data
- Update Only: update existing recipients without adding new members
Optionally add an import notification email so you’re alerted when the import completes.
5) Confirm Opt-In & Submit
Confirm your contacts have given you permission to email them by checking I Agree. Then submit your import.
5) Creating Content and Templates
NextMail offers multiple ways to create attractive, relevant content. Choose what fits your workflow and skill level:
- A) Use a template
- B) Use the Design Editor
- C) Use the Drag & Drop Editor
- D) Import content from a file
- E) Paste HTML code (advanced)
A. Use a Template
Templates make it easy to reuse branding and layout. Many marketers set up a branded template once, then update headlines and calls-to-action for each mailing.
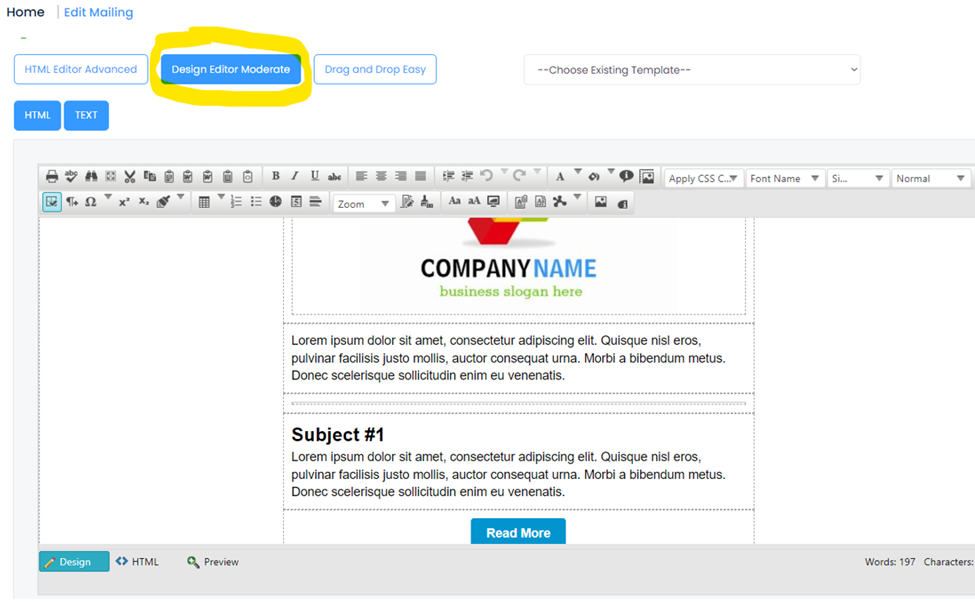
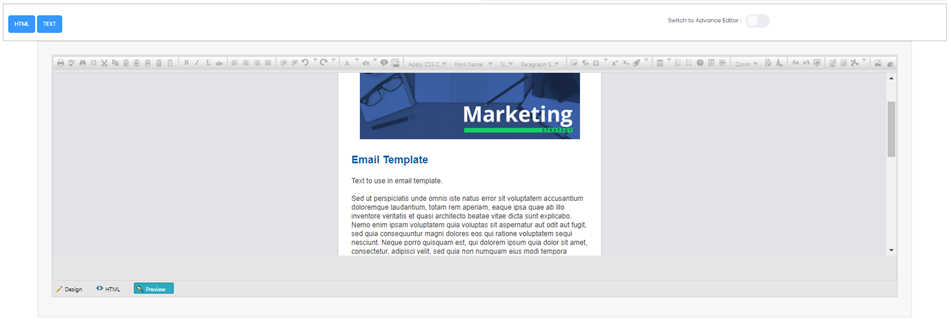
B. Use the Design Editor
Build content visually (similar to a document editor). A fast method is copying a web page or doc (Ctrl/Cmd+A, Ctrl/Cmd+C) and pasting into the editor (Ctrl/Cmd+V).
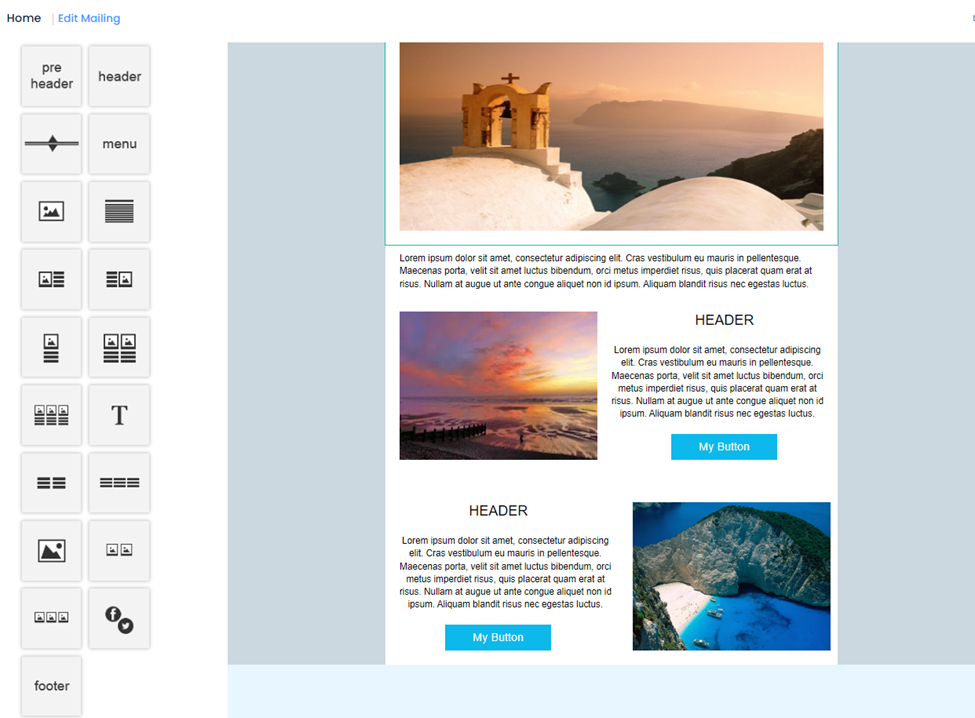
C. Use the Drag & Drop Editor
Build emails using blocks/components and reuse assets from your Image Library (logos, banners, etc.).
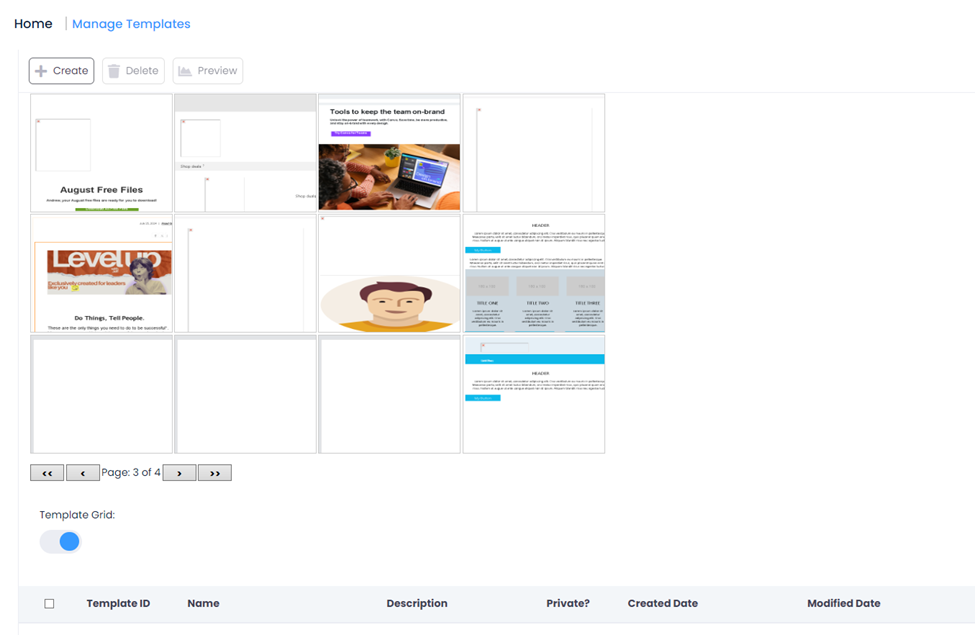
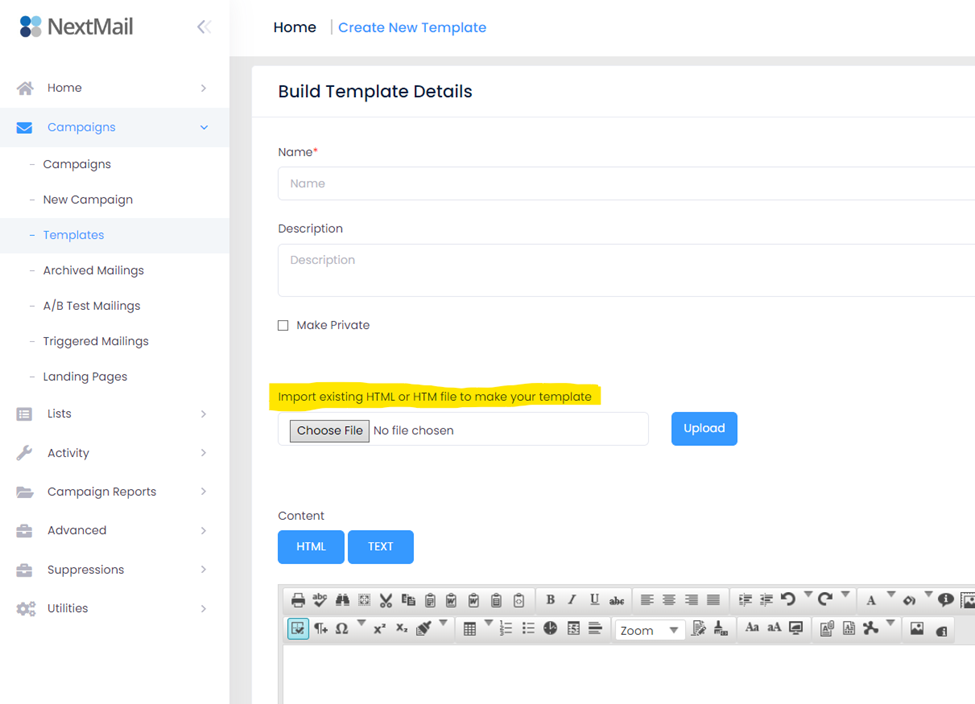
D. Import Content from a File
Import a web page or document directly into a new template: go to Content → Templates and import a file.
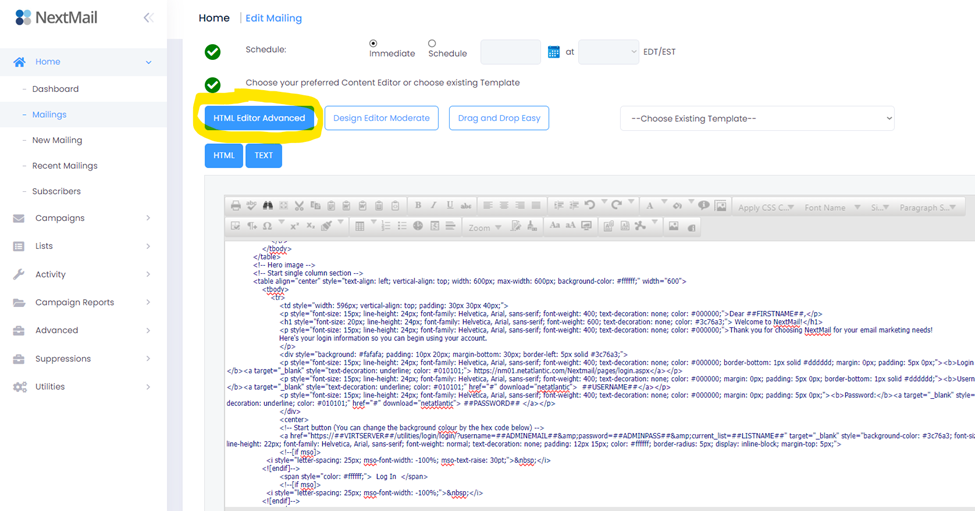
E. Paste in HTML Code (Advanced)
If you already have HTML (e.g., from Dreamweaver or an external builder), choose HTML Editor (Advanced) and paste your code. Use Preview to confirm rendering.
6) Creating a New Mailing
Go to Mailings → New Mailing. Name your mailing, add a description (optional), and assign a campaign (optional). Click Save, then choose recipients, subject, personalization, from/reply-to, and create your content.
End of Easy Start Guide. For more resources visit https://www.nextmail.email/support.